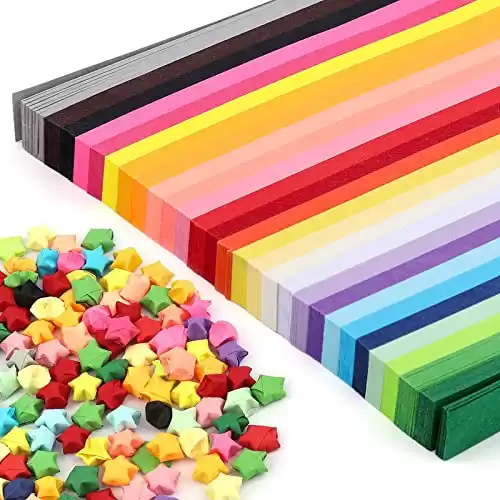
This post is all about how to make a 3D paper star.
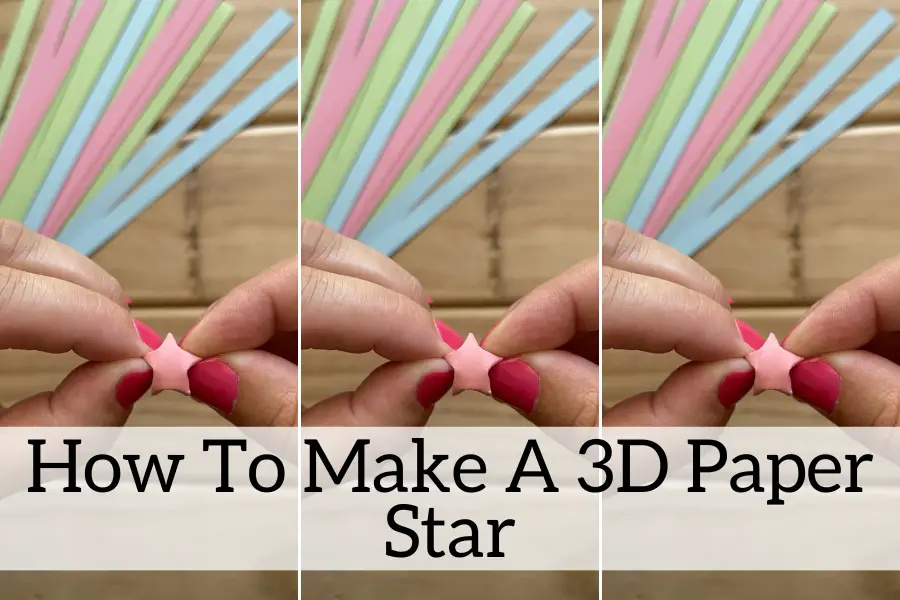
Let us show you how to make a paper star! Some other names for them are Origami Star or Lucky stars. It’s just one strip of paper folded into a cute 3d star.
Just looking at them they look super complex, but once you give it a go you realise how easy (and fun) they actually are. Once you have achieved your first star it will take a few attempts to perfect the perfect paper star.
–Disclaimer: This blog post contains some affiliate links. If you purchase through them I do receive a small commission, but this is at no extra cost to you.–
To make a star out of paper, all you need is A4 paper! We are using coloured paper, a guillotine and a little bit of patience!
Or you can buy paper specific to making paper stars;
Precut paper strips to create your own lucky paper stars.
Comes in 27 different colours!
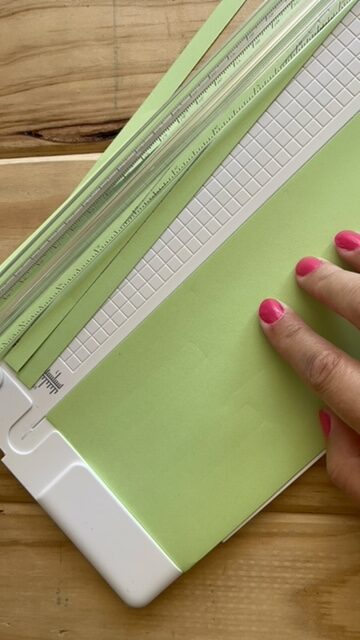
How To Cut Paper For Paper Star
We are using our guillotine from Cricut as it has measurements up and down the sides. Take your A4 piece of paper and line it up to the 1cm mark. We want the strips to be 1cm in width and as long as the A4 piece of paper.
Cut all your paper first. One sheet of A4 paper will make around 18 lucky stars. Use this amount to practice, it will probably take this many pieces to master your technique!
How To Start A Paper Star
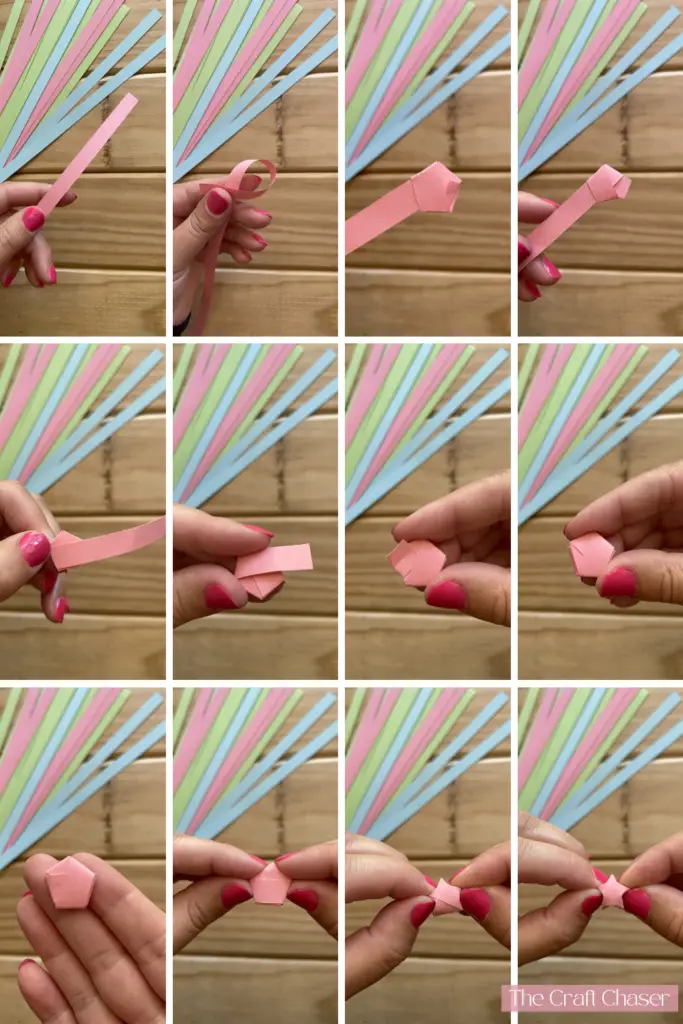
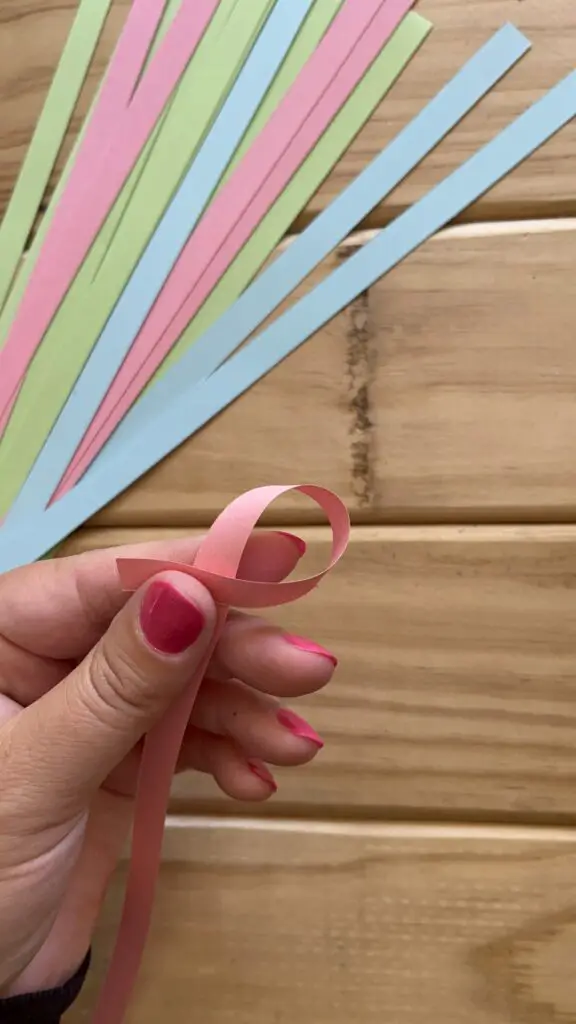
Loop the strip of paper and tie a simple knot, this needs to be at the end of one of the strips.
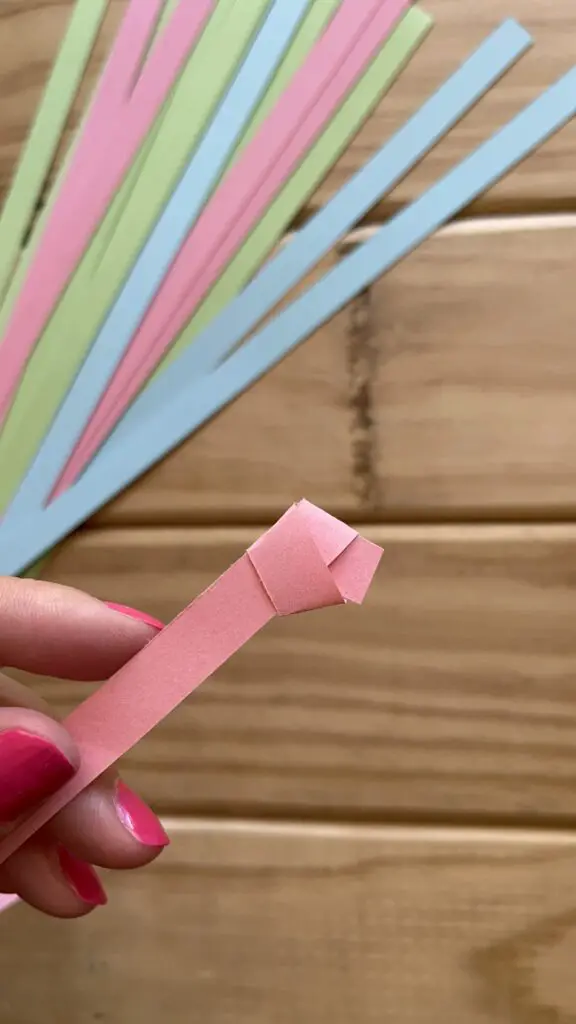
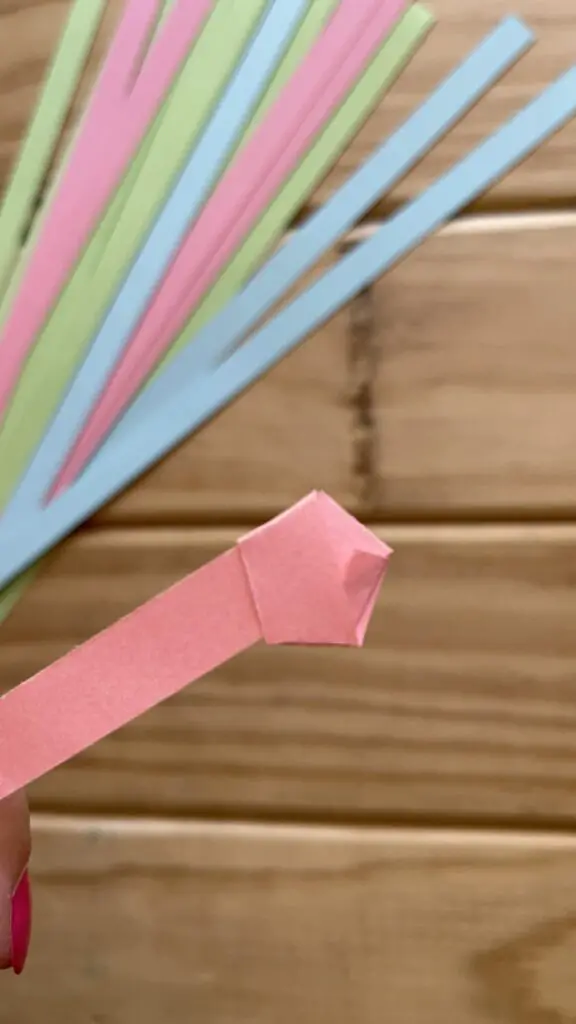
Delicately wiggle the two ends of paper and pull them tight. Be careful not to fold or rip the paper. A pentagon shape should form, this is where you can press down on it to fold.
Doing so, this will leave you will one long end and one short end.

How To Fold A Paper Star
Starting on the small end, following the pentagon shape fold it along one of its sides. Tuck it up into the preexisting folds of the star.
If it’s too long you can tear, cut or fold it to fit inside.
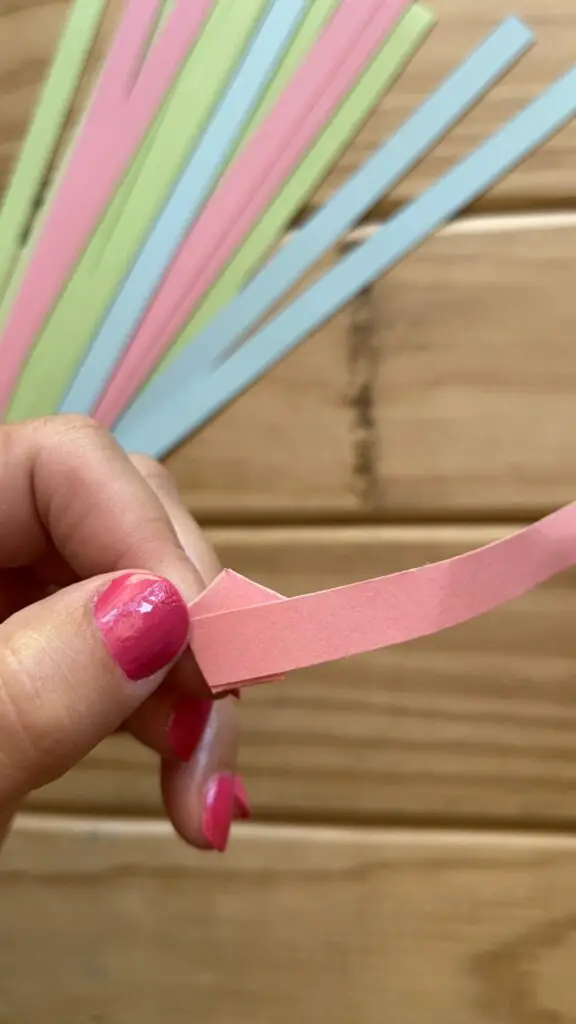
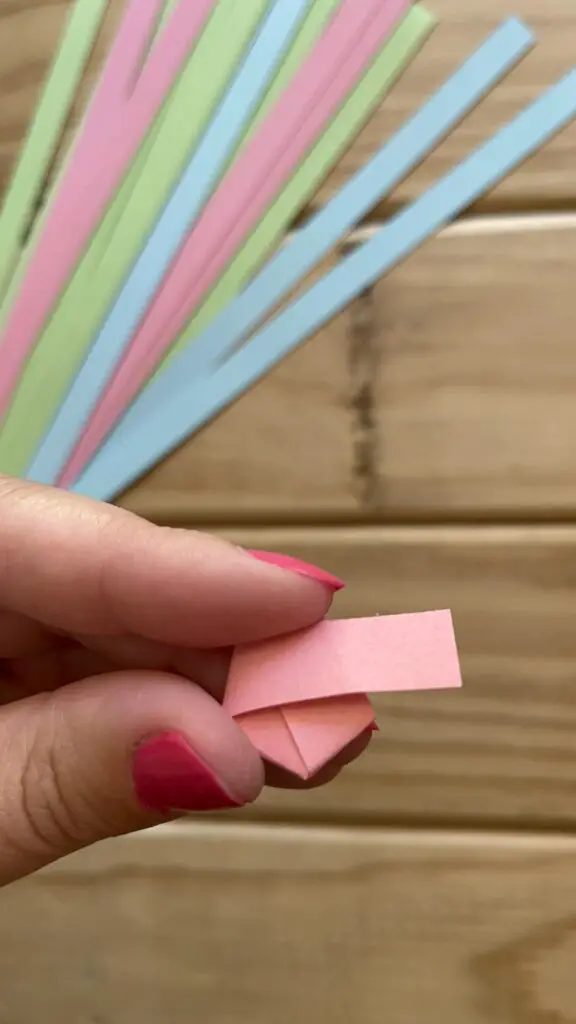
With the long length, follow the line of the pentagon and fold over. The strip quite literally guides you where it needs to go.
Make sure when folding don’t press too hard as it will be hard to puff the star out at the end.
At the end of the paper again, tuck this into a fold, if it doesn’t reach, cut, tear or fold it so it fits.
How To Puff Out Your 3d Paper Star
This part can be a little tricky and it took a few attempts. I had quite a few questionable looking stars haha! But that’s ok we can practice, right?!
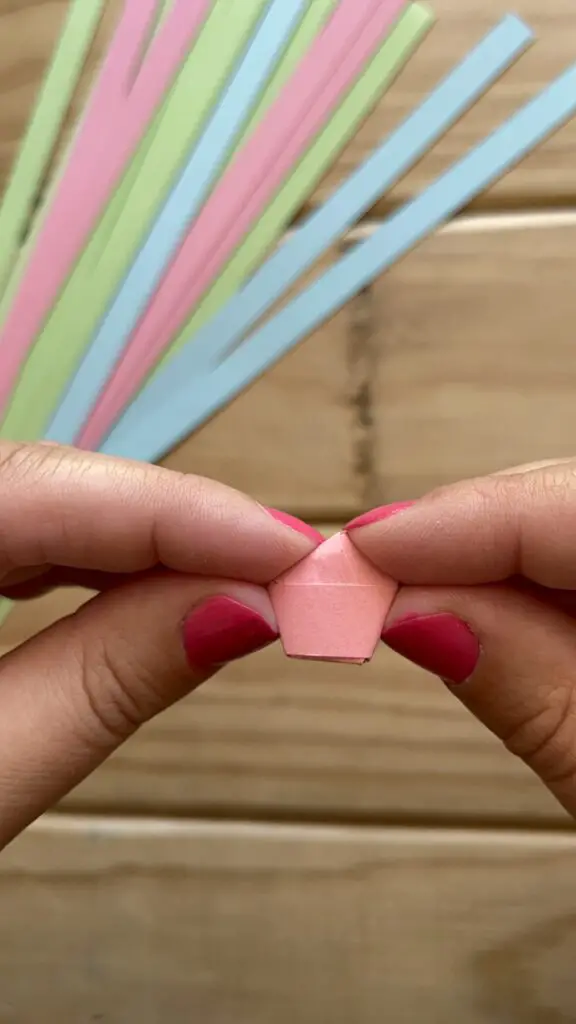
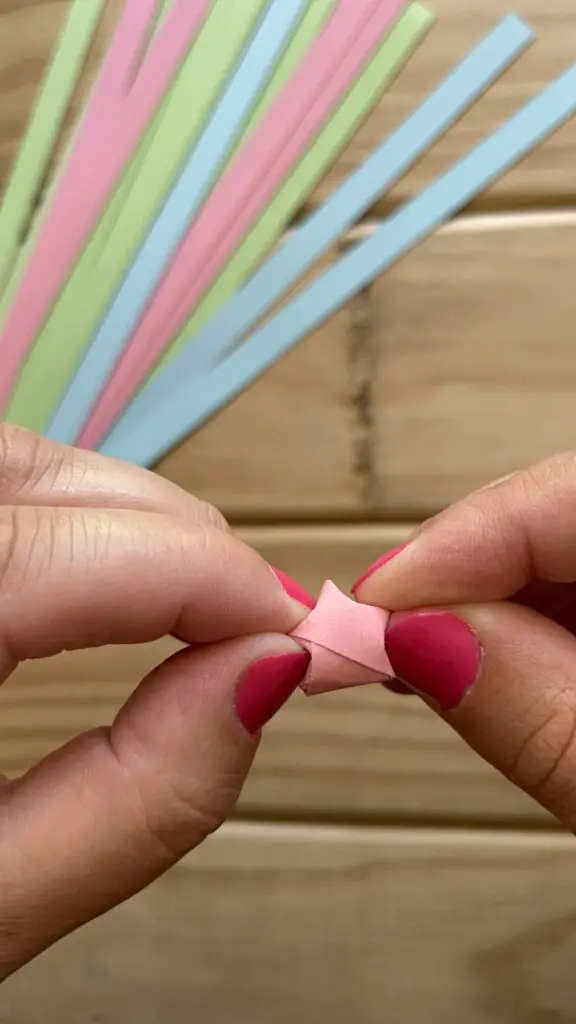
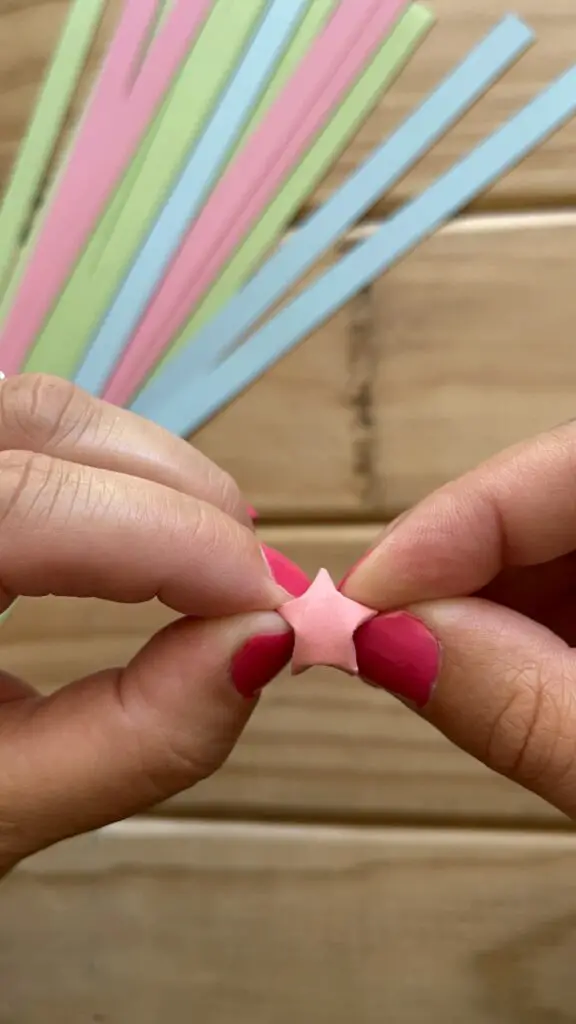
Using your thumb and your index finger slowly and carefully put pressure onto the straights of the star, one at a time.
The stars points will start to form. Pinch the stars points to manipulate them to however you want them. Now you can fill up a rewards jar, put them into shadow boxes or add them to gift boxes!
Can I Make Larger Paper Stars?
Yes, of course! But if you’re increasing the width of the star, you will also need to increase the length of your paper.
What Paper Do You Use To Make Paper Stars?
You can use;
- Special Star Paper
- Printer Paper
- Colour Paper
- Magazines
- Newspapers
- Music Sheets
