This post is all about how to make a pop up Birthday card.
Learn how to make a pop-up Birthday card with our easy-to-follow craft tutorial. We will show you how to curate a magnificent pop-up birthday card with just a few elements.
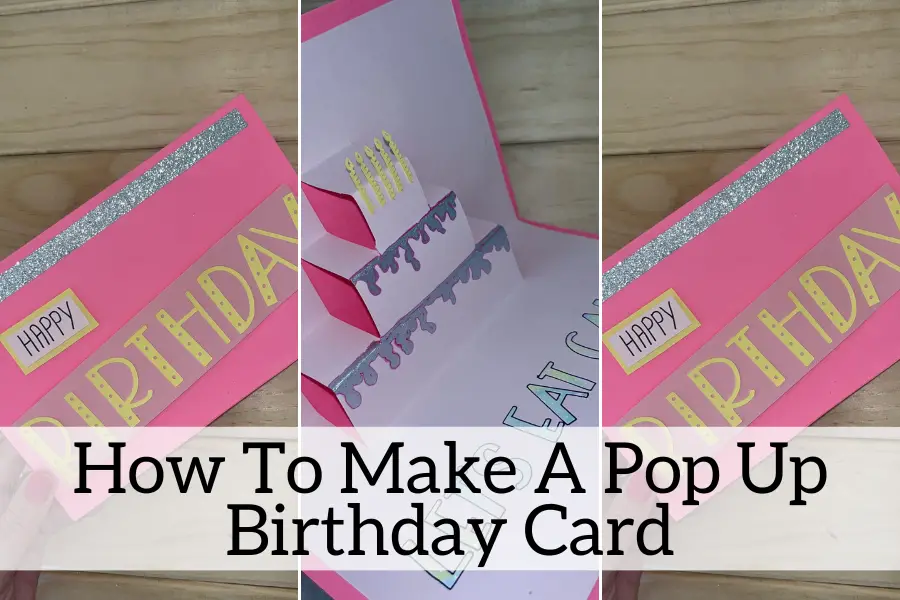
This card will surprise the recipient when they open it up to find a cute little pop-up cake!
The best part about making a pop up Birthday card is that it is super easy! We will teach you how to make a 3d card.
–Disclaimer: This blog post contains some affiliate links. If you purchase through them I do receive a small commission, but this is at no extra cost to you. Read our disclaimers HERE–
What You Will Need To Make A Pop-Up Card
These supplies are a must to making the perfect pop up card!
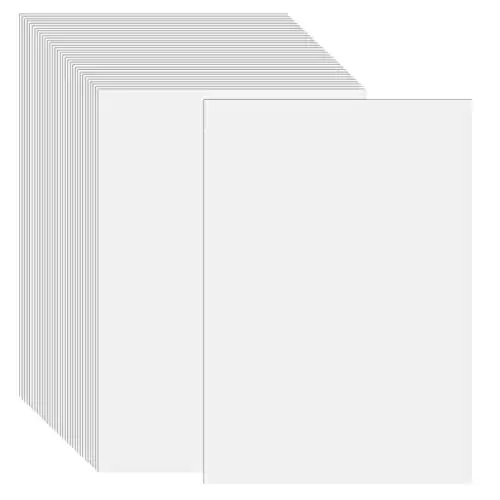
- Cardstock
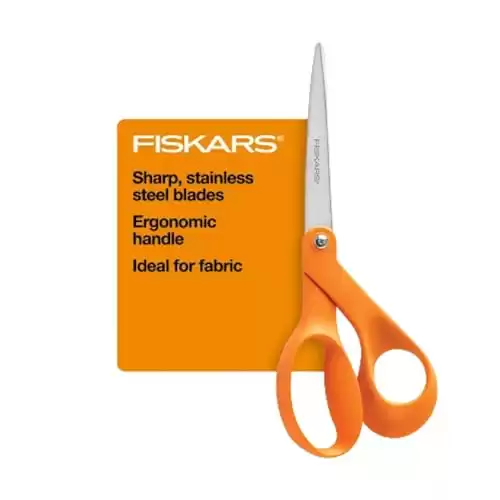
- Scissors
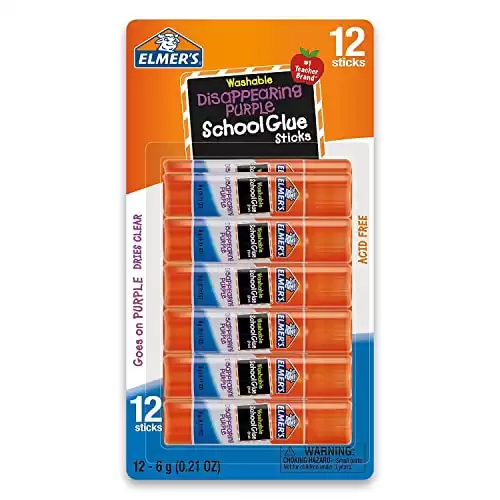
- Glue Stick
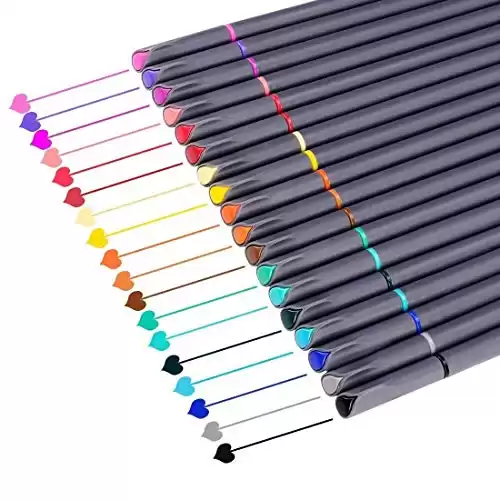
- Pens
Optional Supplies
There are a couple of supplies that are optional in how to make a pop up Birthday card. You don’t have to have these in order to make the card but they can help you add that extra wow factor.
How To Cut Your Pop-Up Card
You will need two pieces of card stock. The colours you chose is up to you but we will recommend that the inside piece of cardstock is slightly lighter than the outside sheet. Trim one of the pieces down so it fits inside the other, leaving about a 1cm border around the edges.
Fold them both in half and pop the bigger sized piece of cardstock to one side.


Using scissors cut two slits about 2 inches in from the edge of the card.
Fold the card inwards at these two slits. Making sure you are doing this on only the front part on the card.
Repeat this twice more, making each layer narrower than the last. Folding in as you go. It will start to resemble tiers of a birthday cake!
Open your card up to reveal the 3 tired birthday cake! How cool is that! When I first made a 3d pop up card I was so amazed at how easy it really was.
How To Assemble The Card
Glue sticks at the ready! Glue around the cuts you just made and glue one side at a time to the inside of your second piece of cardstock. Be careful not to stick the whole thing together.


This part is optional;
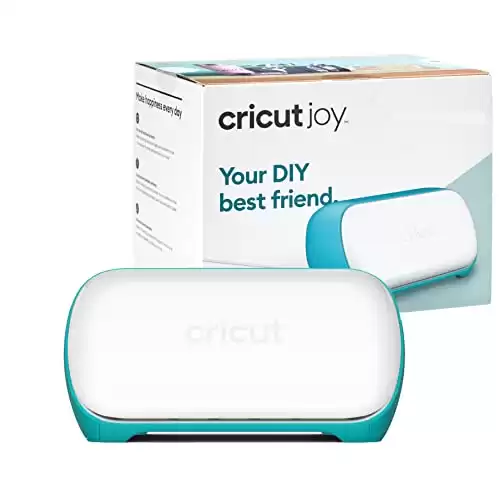
We used a free file in the Cricut Design Space to cut little candles our of cardstock. You could colour pieces of paper in and cut them out with scissors also. I also used a metallic pen to draw icing onto the other tiers of the cake. And a black fine point pen to outline the font on the inside. Go wild!
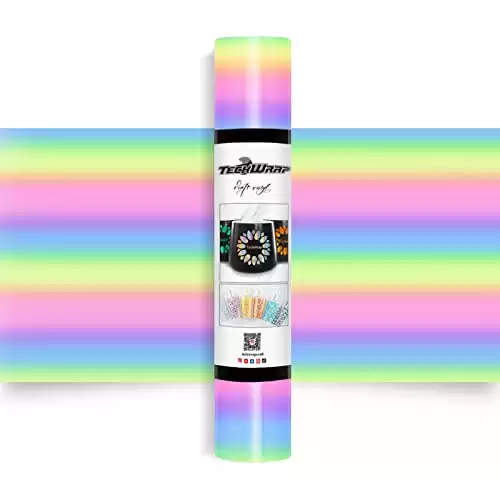
I also cut out ‘Lets Eat Cake’ in gorgeous holographic vinyl from Teckwrap to stick on the inside. I would recommend carefully taking the vinyl off the backing with weeding tweezers and applying it that way. Otherwise if you use the transfer tape it will rip the card.
I had cut vinyl to use for the front but we ripped it when we removed the transfer tape. I could see it happening. So instead I cut it out of cardstock and stuck it to more cardstock.
I used foam pads to raise it up slightly to give the front of the card more dimension.
Handwrote ‘Happy’ on a small piece of cardstock, gave it a boarder and foam padded it to the card.
Cut a strip of glitter cardstock and stuck it to the top as it just needed something more!


